Have you recently had a root canal procedure to alleviate an infection or do you have a severely decayed or damaged tooth? If so, your dentist might suggest placing a dental crown to protect it from harm while restoring its appearance and function.
These ceramic caps are a standard way to address chipped, cracked, or injured teeth, but you might feel anxious to get one if you’re unsure what’s involved in the process. Continue reading to learn about 4 steps you can typically expect your provider to take when fitting you with one of these lifelike prosthetics!
Step #1: Consultation & Assessment
Although placing a dental crown is common way to address a variety of concerns, that doesn’t necessarily mean it’s the best solution to meet your unique needs. That means you must consult with your dentist to ensure you’re a good candidate before proceeding.
They will examine your teeth and gums to determine the underlying issue and provide a customized treatment plan to address it. If they verify that one of these lifelike restorations is right for you, they’ll await your approval and then move forward with the next steps.
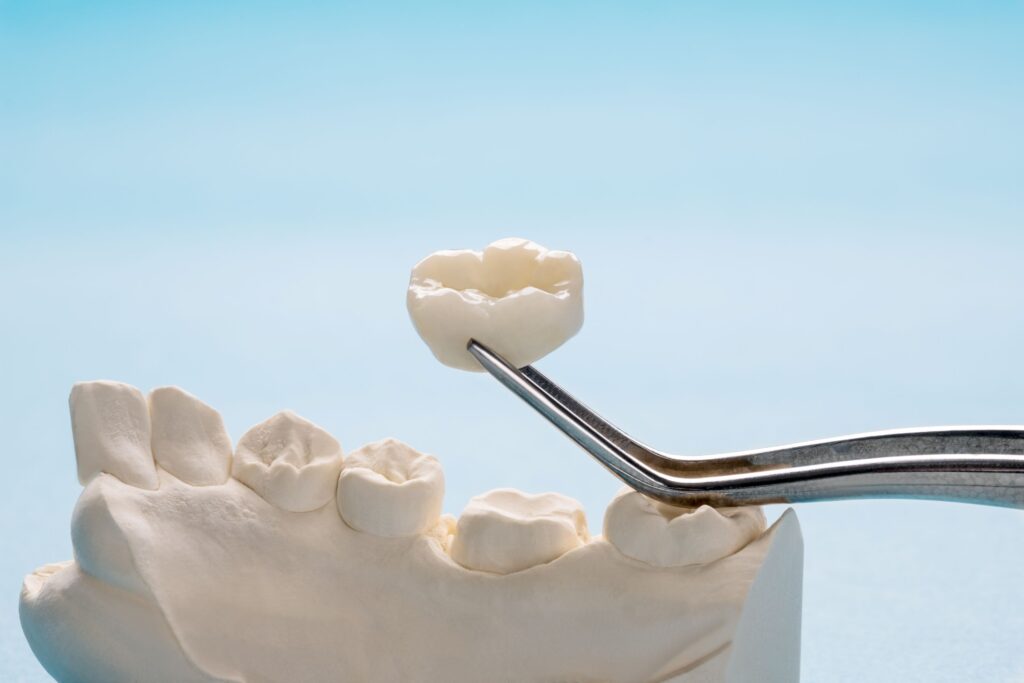
Step #2: Thinning Enamel & Making Impressions
Your prosthetic is intended to fit over your tooth to shield it, but it’s essential that it fits correctly to avoid looking awkward or causing a dental or bite misalignment. As a result, your dentist must remove a small amount of enamel from the affected tooth so the cover can function as intended. They’ll numb your mouth for this stage in the process, so you shouldn’t feel pain, but you might experience sensitivity after your appointment.
Then, they’ll make digital impressions of your teeth and gums that will be sent to a special dental laboratory, which uses them to begin designing your one-of-a-kind cap.
Step #3: Fitting a Temporary Crown
It can sometimes take the lab a few weeks to deliver your completed dental crown, leaving your injured tooth unprotected. Your provider might recommend placing a temporary version to prevent potential injuries or infection until the finished product arrives.
This is intended to be a short-term solution, so your temporary crown likely won’t be as strong or perfectly matched to your smile as the permanent version.
Step #4: Permanent Placement
Once your dentist’s office receives the finished dental crown from the laboratory, they’ll contact you for a final fitting before cementing it in place. Then, they’ll carefully remove any excess bonding material and polish your new tooth to a shine before sending you home with your beautifully restored smile.
Now that you know what to expect from getting a crown, there’s no reason to avoid rebuilding your grin with this tried-and-true treatment!
Meet the Author
Dr. Jonathan Smiley comes from a family of dentists and grew up understanding the value of providing quality services to help improve patient’s lives. He earned his Doctor of Dental Medicine from the Southern Illinois University School of Dental Medicine then continued his education with advanced courses with the Dawson Dental Academy. Today, he provides a comprehensive menu of services, including lifelike dental crowns, to help people of all ages build the healthiest, most beautiful versions of their smiles. You can request an appointment on the website or call (319) 352-2270.